Require ID verification with a product tag
This tutorial is for Shopify stores. You'll create a hidden Require ID collection that fills itself from a product tag. After setup, add the require-id tag to a product and orders containing it require ID verification. You don't need to open Real ID to change which products need it.
You'll need:
- Access to Products in your Shopify admin
- The Real ID app installed, with ID verification before checkout, during checkout or after checkout turned on
Step 1: Tag your first product
Shopify only lets a collection condition use a tag that already exists, so start by tagging at least one product.
- In your Shopify admin, go to Products.
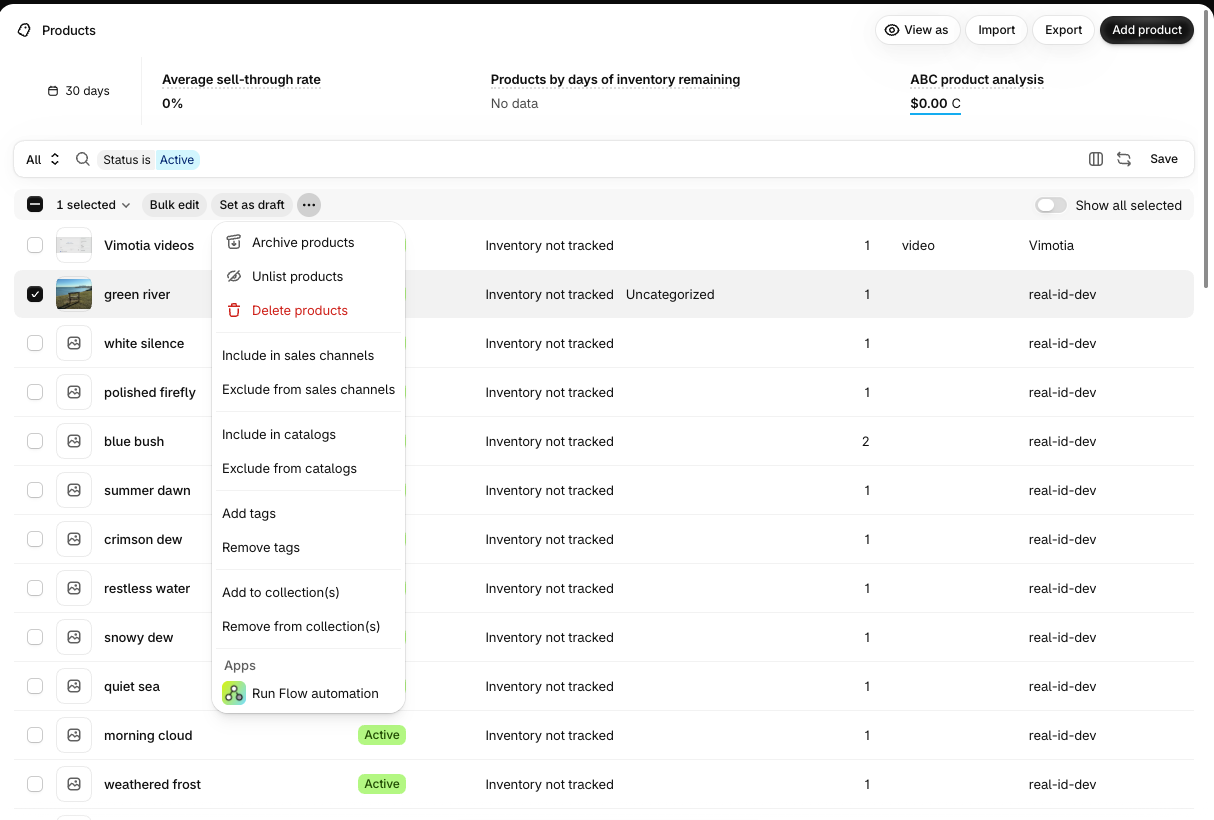
- Select the products that need ID verification, then open the ⋯ actions menu and click Add tags.
- Type
require-id, click Add "require-id", then click Save.
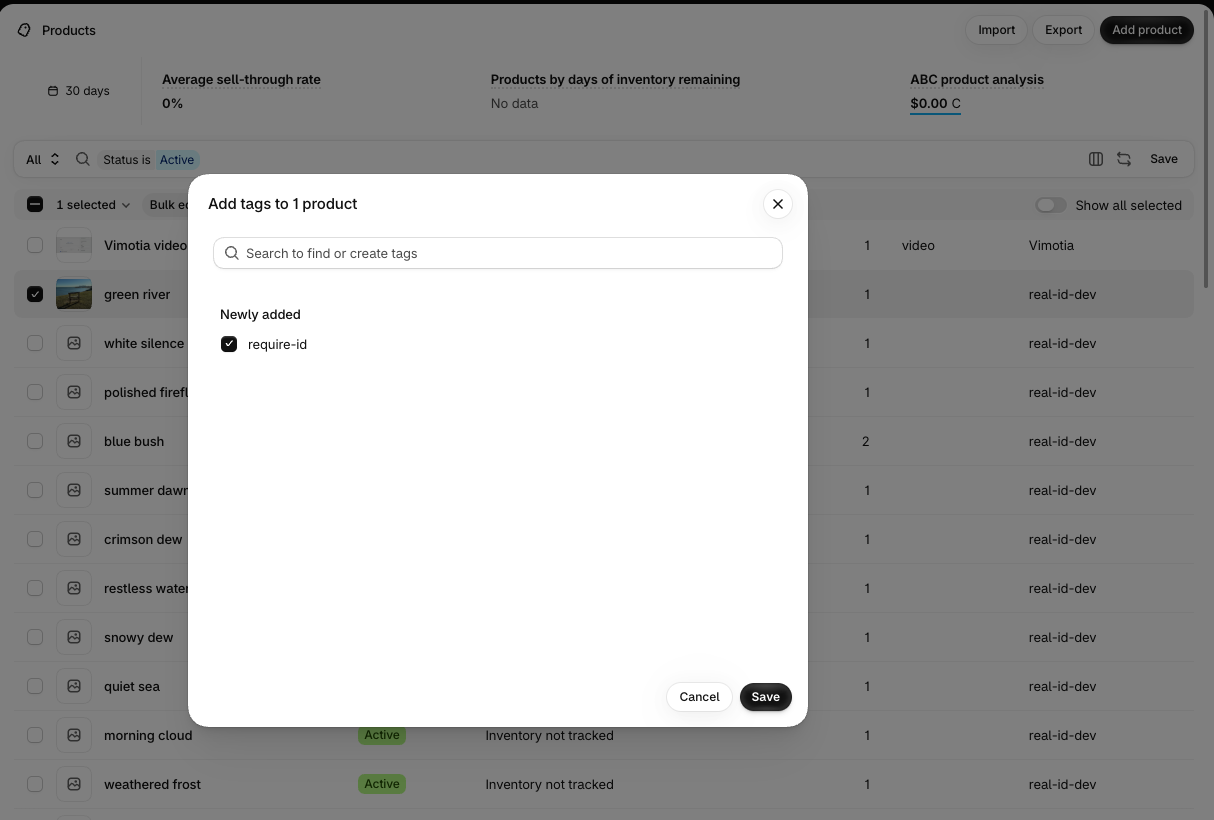
You can use any tag name. Pick one your team will recognize, and spell it the same way every time, because tags must match exactly.
Step 2: Create a smart collection
- Go to Products → Collections and click Add collection.
- Name it Require ID. Customers won't see this name.
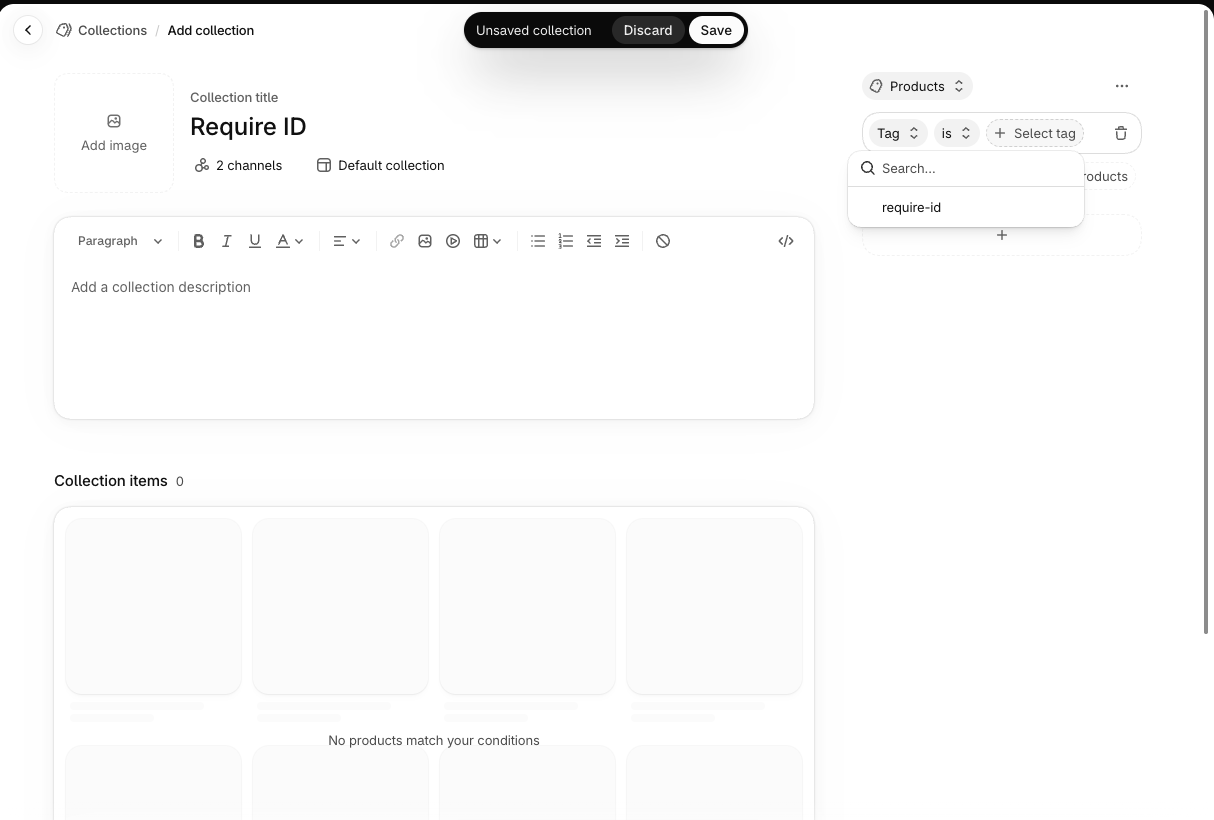
- Click Add condition, choose Tag, then select
require-id.
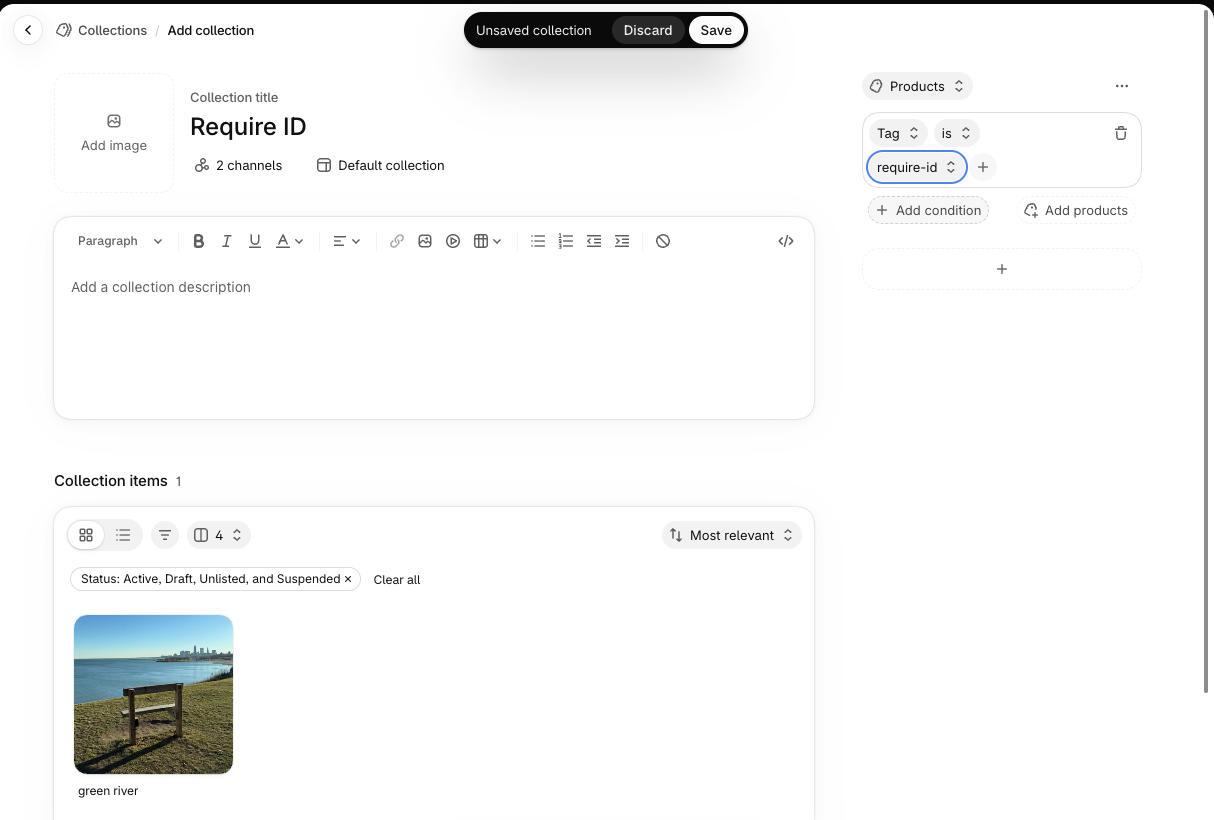
Shopify adds every product with the require-id tag to the collection, now and in the future, and removes products when the tag is taken off. The products you tagged in step 1 appear under Collection items.
Step 3: Hide the collection from your store
New collections are published to your sales channels by default. To keep this one for organization only:
- Click the channels button under the collection title.
- Turn off Sales channels, which turns off every channel, including Online Store and Point of Sale. The button now shows 0 channels.
- Click Save.
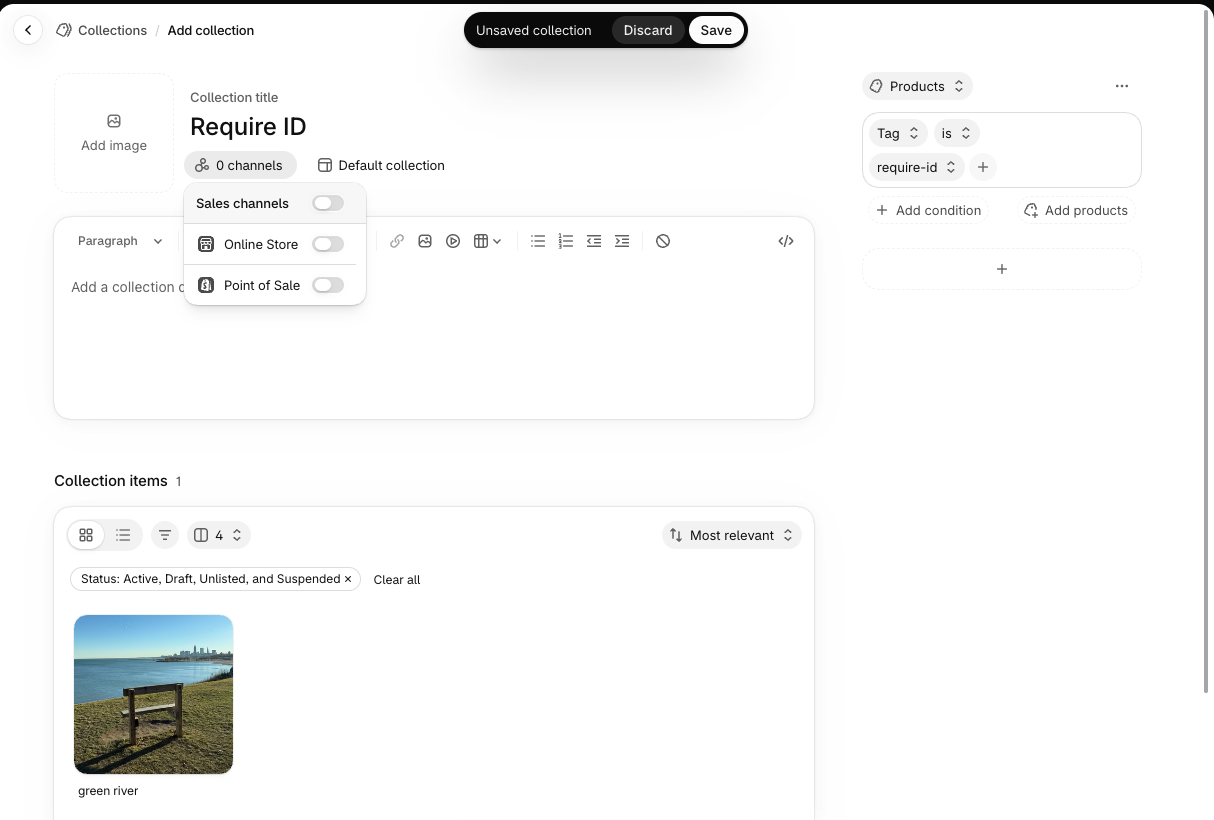
The collection no longer appears on your storefront or in other sales channels. Real ID can still use it, because Real ID reads collections directly from your Shopify admin.
Step 4: Select the collection in Real ID
- Open the Real ID app and go to Settings → Automations.
- Scroll down to the Products filter and open the Collections tab.
- Turn on the toggle, search for Require ID, and click it to select it.
- Click Save.
Saving syncs the collection's products right away. Orders that contain at least one product from the Require ID collection now require ID verification. See Specific products for more about this filter.
Adding and removing products later
To require ID verification for another product, add the require-id tag. To stop requiring it, remove the tag. You can tag products one at a time, in the Tags field on the product page, or in bulk as in step 1.
Shopify doesn't notify apps when a tag change moves a product into or out of a smart collection. Real ID picks up these changes in its nightly collection sync, which runs at 9 PM Eastern time.
To apply a tag change right away, open the Require ID collection, make any small edit, such as updating the description, and click Save. Saving the collection tells Real ID to sync it immediately.