Setting up an ID verification view for your orders in Shopify
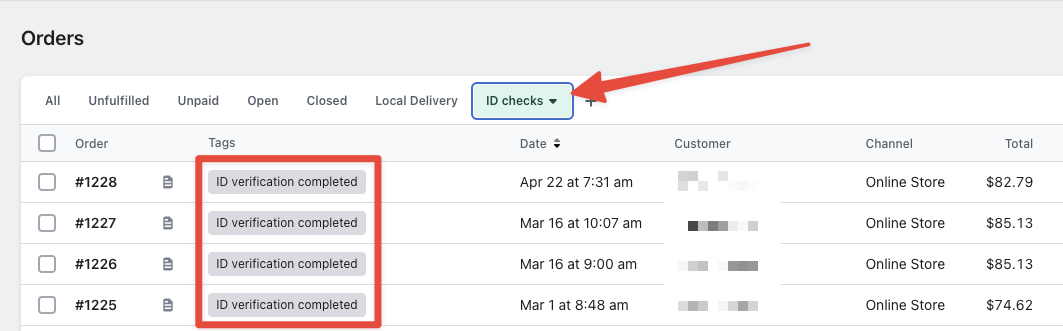
By default the main Orders page in Shopify shows the tags on the far right of the orders table.
This can make it difficult to easily see the ID verification status of your orders. But we can quickly create a custom view in Shopify in just a few clicks. Then you'll have a dedicated view to easily see outstanding, passed or failed ID checks at a glance.
Creating a ID checks view
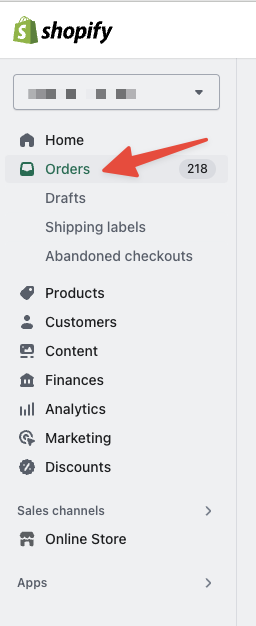
First, open your Shopify dashboard and open the Orders page:
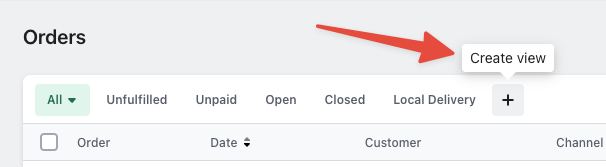
At the top of the page, you should see a Plus icon. Clicking on it will create a new View:
This should open a pop up to name your new orders view. We recommend giving it a name like ID checks:
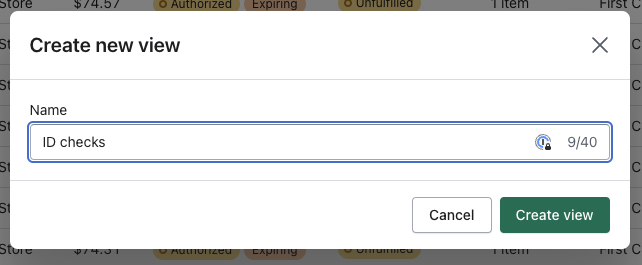
Then click Create view and you'll have a new view to customize separately from your other order views.
Only including ID verified orders based on tags
Now that you have a separate view you can now apply a filter to this view to only show orders that are in a specific status.
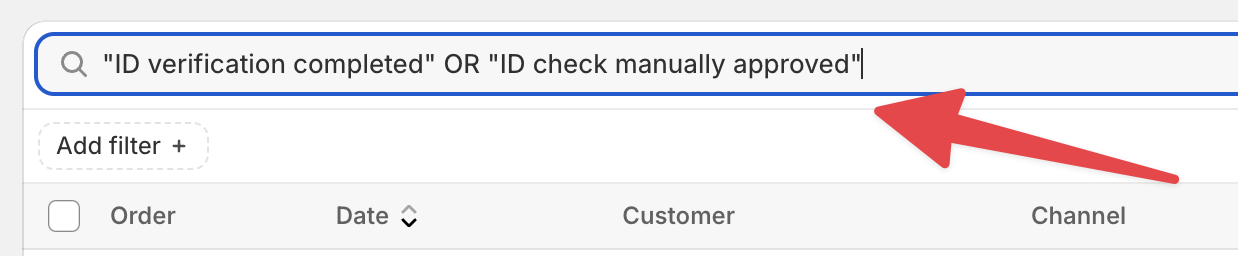
Click on the filter icon in the main search bar:

Then and paste this into the search to only include automatically verified orders and ID checks approved by your staff:
"ID verification completed" OR "ID check manually approved"
The quotes (") in the above example are required for this filter to work properly.
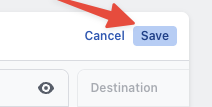
Then click Save in the top right to save the filter so this view will only show ID verified orders.

Modifying the columns order
Now you have a separate view that you can modify the placement of the Tags column, which is how Real ID syncs ID verification statuses to your Shopify dashboard.
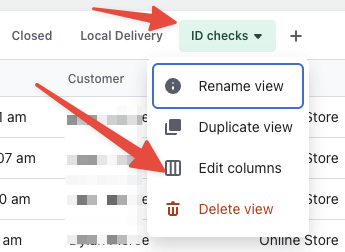
At the top of the page, click your new ID checks view to open a dropdown menu. Then click Modify columns to begin customizing the layout of this view:
Now you should see the columns of the Orders table are now editable. The Tags column by default should be on the far right side:

Simply drag and drop the Tags column further to the left so it's more prevalent on your screen:

You can also hide other columns by clicking the eye shaped icon on that column. When you're done making your changes to the ID checks view, click Save in the top right hand corner to save your changes:
That's it! Now you'll be able to quickly switch between the normal views like Opened, Unfulfilled and easily switch to ID checks.